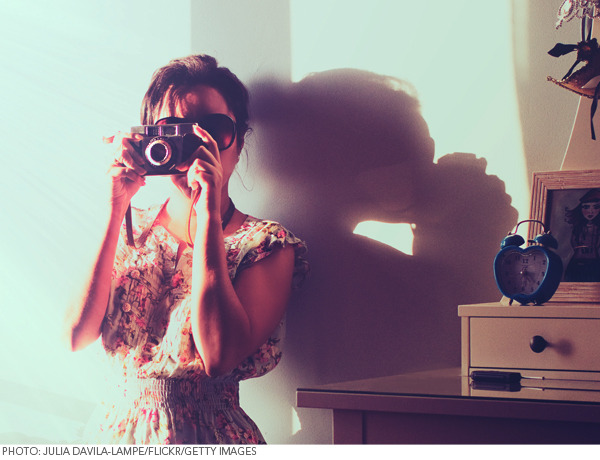
Envision this: You’ve just created a masterpiece on your face. The colors are saturated, and your blending is perfection. Eagerly, you grab your point-and-shoot—your camera phone or webcam won’t capture the look as well. Click. Click. Click. Excited to gaze upon your creation, you’re instantly disappointed. Did you just dream up your perfect makeup job? Because your camera certainly didn’t see it.
That’s the power good (or bad) lighting can have on DIY makeup photography. The wrong color, or even a lack of luminosity itself, can be the difference between day and night—and good and bad.
Photographers, set designers, and optic scientists know a thing or two about the physics and mechanics of light, but you only need the basics to best capture great makeup or a perfect manicure. Just stick with the three lighting mantras below, and you (and your camera) won’t ever get stuck in the dark.
1. You can never have enough light.
Repeat this to yourself over and over. Unless you’re shooting in a professional makeup studio with professional lights, you can never have enough light for a makeup photo. Natural light is the cheapest and easiest light to source. If you’re shooting yourself indoors, get near enough to the window that sunlight illuminates your face but in an indirect way. If you stand in direct sunlight you'll get unflattering, harsh shadows. If you’re outdoors, the same rules apply. Try to photograph yourself away from the sun’s immediate rays; we suggest standing in the shade. You'll have a great amount of light, but no harsh shadows. Remember, always shoot with your light source in front of you, not behind.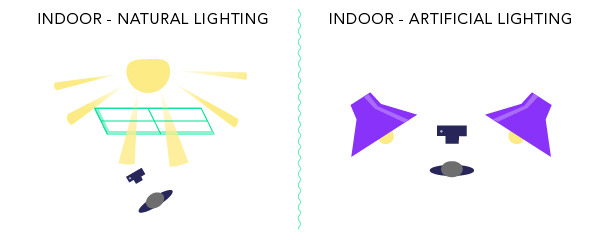
If you must snap a photo at night, shoot with an artificial light source as close to your face as possible. If you put it right next to your camera, you'll minimize shadows on your face. Even if you’re snapping a picture with your webcam—placing a lamp behind your computer can make a world of difference to the quality and clarity of your image.
2. Let the light surround you.
In professional beauty photography, have you noticed the “ring of light” in models’ pupils? That’s a halo light, and photographers often use this kind of circular fixture to bathe the skin in an even layer of illumination. The idea is that light hits all sides of your face, so it eliminates shadows from all sides of the face. In the right circumstances, a strong side light provides visual drama, and can help strengthen a weak profile. However, most of the time, aim for an even distribution of light around the head. Shooting in front of a window is the easiest way to solve this problem. If you are indoors, surround your face with two lamps, side by side. If you want to get crafty with something a little more like a ring-light, you can MacGyver something together using clip lights and a way to mount them so there is light on all sides of your face.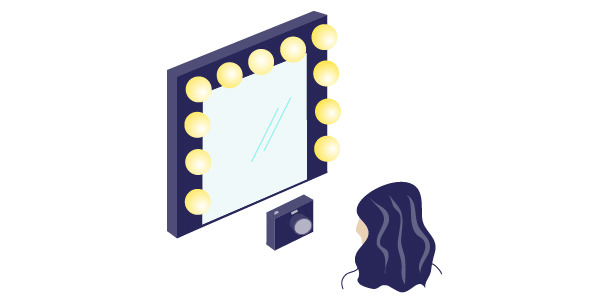
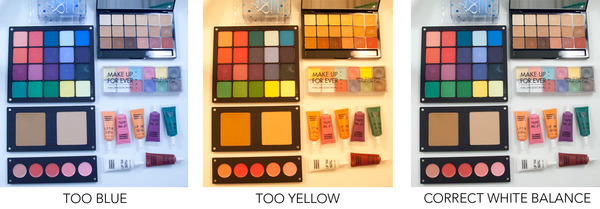
3. Know the difference between warm and cool light.
Light has a color temperature, and can change how your colors appear on film. Daylight, save dawn and dusk’s amber-tinted “magic hour,” is more cool, or blue-toned at 5600K. Artificial lights, like Tungston bulbs, are warmer and more orange-toned at 3600K. No light source is better than the other, but you should choose one color temperature and stick to it—meaning, don’t shoot in daylight with a warm-tone artificial light source nearby. You can purchase daylight bulbs that will help you add artificial light to a natural light source so that it looks more even.Most cameras also have a setting for daylight or tungston (usually “sun” or “bulb” icons indicate color temperature). Be sure to select the correct one for your situation or switch your settings to auto and let the camera detect the temperature for you.
No comments:
Post a Comment